Projection mapping, a captivating technology that brings inanimate objects to life with stunning visuals, has become increasingly popular in recent years.
Whether you’re planning an art installation, a live performance, or a corporate event, projector mapping can turn ordinary surfaces into canvases for creativity. In this comprehensive guide, we will walk you through the process of how to do projector mapping from understanding the basics to executing your vision flawlessly.
Understanding Projector Mapping
What is Projection Mapping?
Projection mapping, also known as video mapping or spatial augmented reality, is a technique that projects dynamic imagery onto three-dimensional objects or surfaces. Unlike traditional projection, which is typically done on flat screens or surfaces, projection mapping allows you to transform complex, irregular shapes into immersive visual experiences. Here you can take a look at a practical example.–
Key Concepts and Terminology
To embark on your projector mapping journey, it’s essential to familiarize yourself with some key terms:
- Surfaces: The physical objects or structures you’ll be projecting onto.
- Calibration: The process of aligning the projected imagery with the contours of the surfaces.
- Content: The visuals or animations that will be projected.
- Mapping Software: Software that enables you to map your content onto surfaces accurately.
The Creative Potential of Projector Mapping
Projection mapping is an art form as much as it is a technology. It offers limitless possibilities for artists, designers, and event planners to transform spaces and captivate audiences with immersive storytelling, branding, or artistic expression.
Preparing for Projector Mapping
Gathering the Necessary Equipment
Before you dive into projector mapping, you’ll need the following equipment:
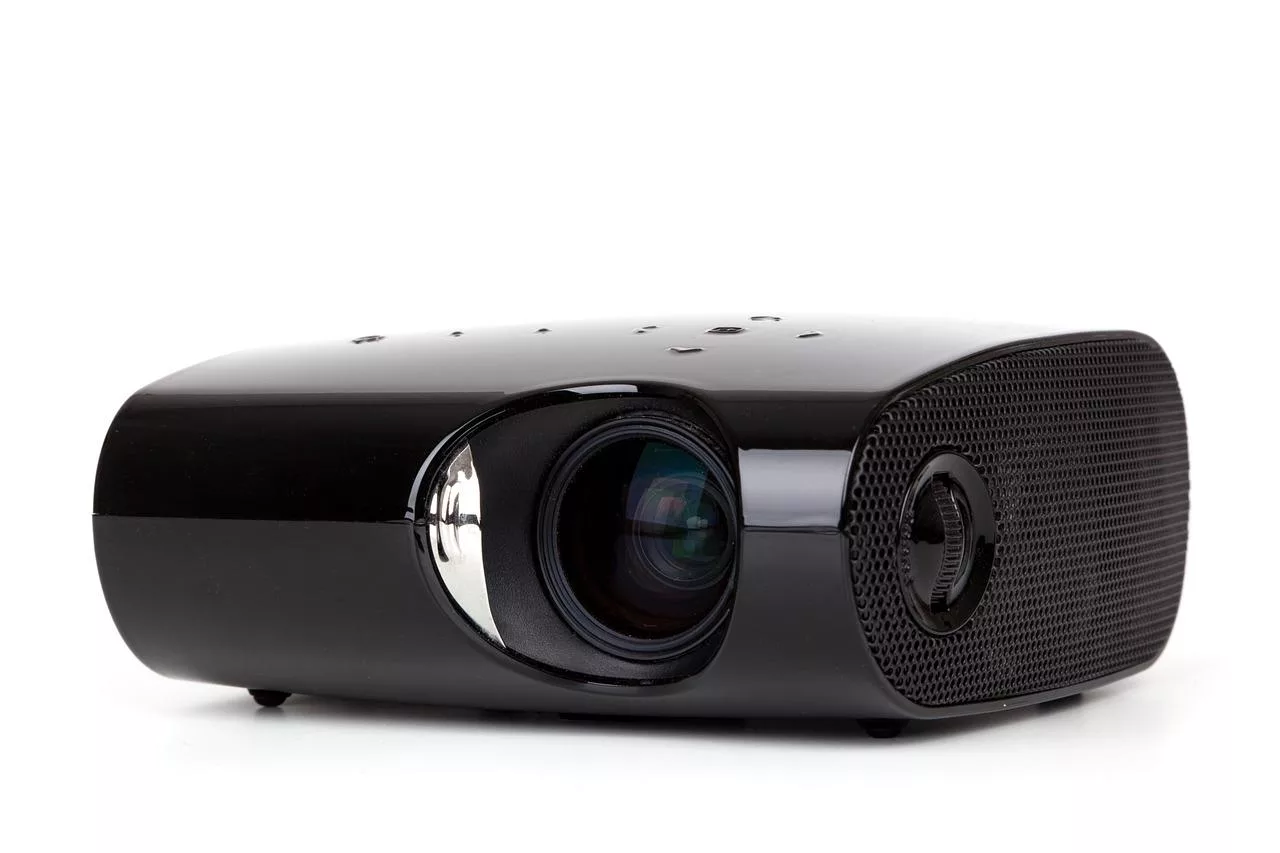
- Projector: Choose a projector that suits your project’s requirements, such as brightness, resolution, and throw distance.
- Content Source: A computer or media player to feed content to the projector.
- Mapping Software: Select a software solution that fits your needs and skill level.
- Suitable Surfaces or Objects: Consider the shape, texture, and material of your chosen surfaces.
Choosing a Location
Select a location that complements your project. Consider factors like accessibility, audience visibility, and any permits or permissions you might need for the space.
Considering Environmental Factors
Outdoor projector mapping may be subject to varying lighting conditions and weather. Plan for contingencies like rain, wind, or excessive sunlight to ensure a seamless projection.
Creating or Obtaining Content
You can create your own projection mapping content using design software or hire a content creator. Alternatively, explore existing projection mapping content libraries for ready-made visuals.
Ensure that your content matches the specifications of your projector and mapping software. Pay attention to resolution, aspect ratio, and file formats.
Setting Up the Projector
Install the projector in a stable position, ensuring it won’t be disturbed during the projection. Use mounting brackets or rigging as necessary.
Focus the projector lens, correct keystone distortion, and configure any other settings to optimize image quality and alignment.
Connect your content source (computer or media player) to the projector using appropriate cables. Test the connection to ensure its functioning correctly.
Installing and Configuring Mapping Software
- Explore the mapping software options available. Common choices include MadMapper, Resolume Arena, and TouchDesigner.
- Install your chosen mapping software and launch it. Familiarize yourself with the user interface.
- Configure the software to recognize your projector and input source. Adjust settings as needed for your specific setup.
Calibrating the Projection
Calibration is a crucial step in ensuring that your projected content aligns perfectly with the physical surfaces or objects.
Begin by aligning the projected content roughly with the target surface.
Use the mapping software’s tools to fine-tune the alignment, adjusting control points or mesh warping.
Verify that your projection is accurately aligned with the contours of the surfaces.
Mapping Your Content
- Import your prepared content into the mapping software. Use the software’s tools to manipulate and adapt the content to fit the surfaces or objects.
- Break down your projection area into regions or segments and assign specific content to each. This allows for intricate and dynamic visuals.
- Apply your content to the surfaces, taking into account any 3D elements or irregular shapes. Preview the projection within the software to refine the placement.
Before your event or installation, run test projections to identify any issues with alignment, content placement, or image quality. Based on the test projections, make the necessary adjustments to optimize your projection mapping setup.
If significant changes are made, repeat the calibration process to ensure precise alignment.
Save your mapping software configurations and content setups for future use or adjustments. Keep a record of your projector mapping settings, adjustments, and any troubleshooting steps for future reference.
Ensure that everything is in place and functioning correctly for your event or installation. Test the entire setup one last time before the audience arrives.
Tips and Troubleshooting
Explore common projector mapping challenges, such as distorted content, color issues, or hardware malfunctions, and learn how to resolve them.
Discover tips for achieving the best possible projection quality, including factors like ambient lighting control and content optimization.
Consider safety precautions for extended projector use, especially for outdoor installations involving electrical equipment.


